Practical guide · 6 min read
ESP32 display for Home Assistant: touchscreen or e-paper?
Choose an ESP32 screen for Home Assistant: touch, rotary controls or e-paper, documented ESPHome examples, setup steps and mistakes to avoid.
An ESP32 display is not a tablet
A temperature reading by the front door or a light control without reaching for a phone can make a connected home easier to use. Start with two or three useful interactions, not a copy of your entire dashboard.
A tablet opens the Home Assistant web interface. An ESP32 running ESPHome and LVGL draws a purpose-built interface in its firmware. You choose the values, buttons and exchanges with Home Assistant. It is not a full browser, a Home Assistant server or a Zigbee coordinator.
Match touch, rotary controls or e-paper to the task
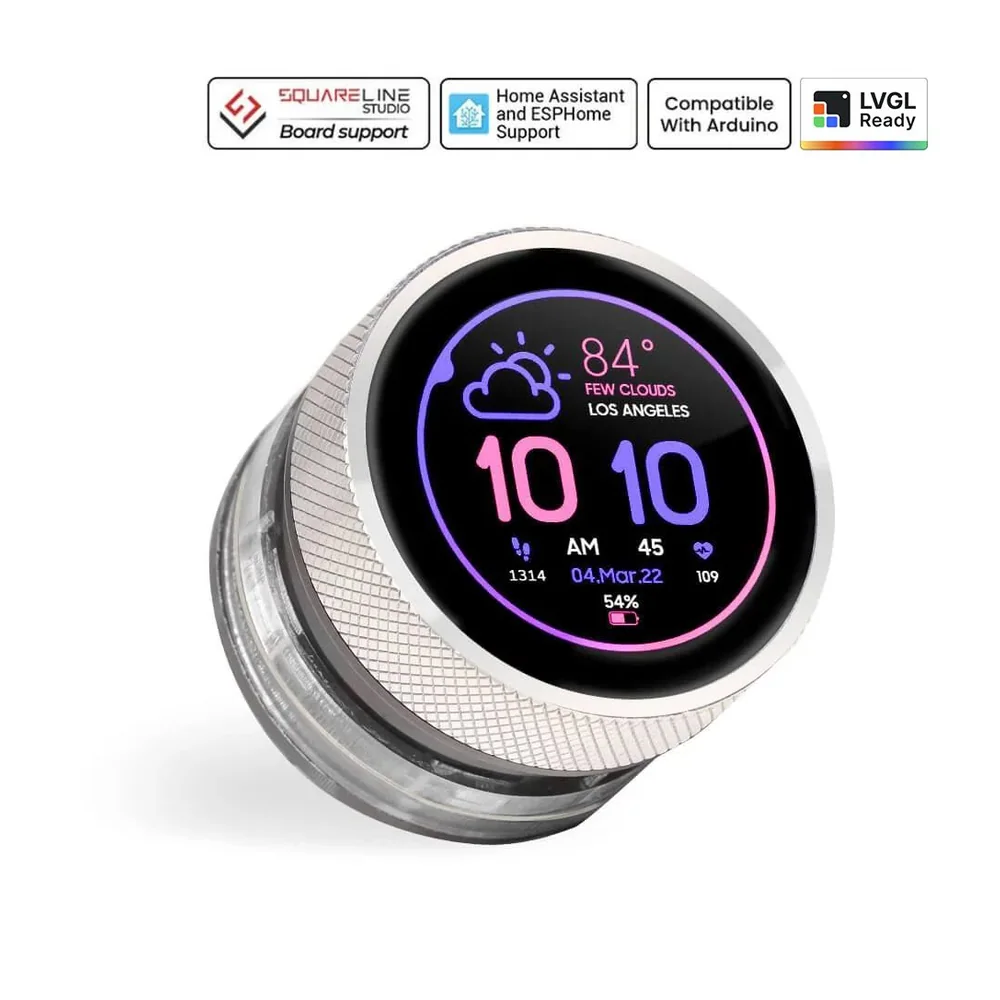
For frequent interaction, a colour touchscreen or rotary control can select a room, scene or setpoint. The round 1.28-inch CrowPanel combines a 240 × 240 display, touch and a rotary control. Elecrow publishes an ESPHome course for this specific model.
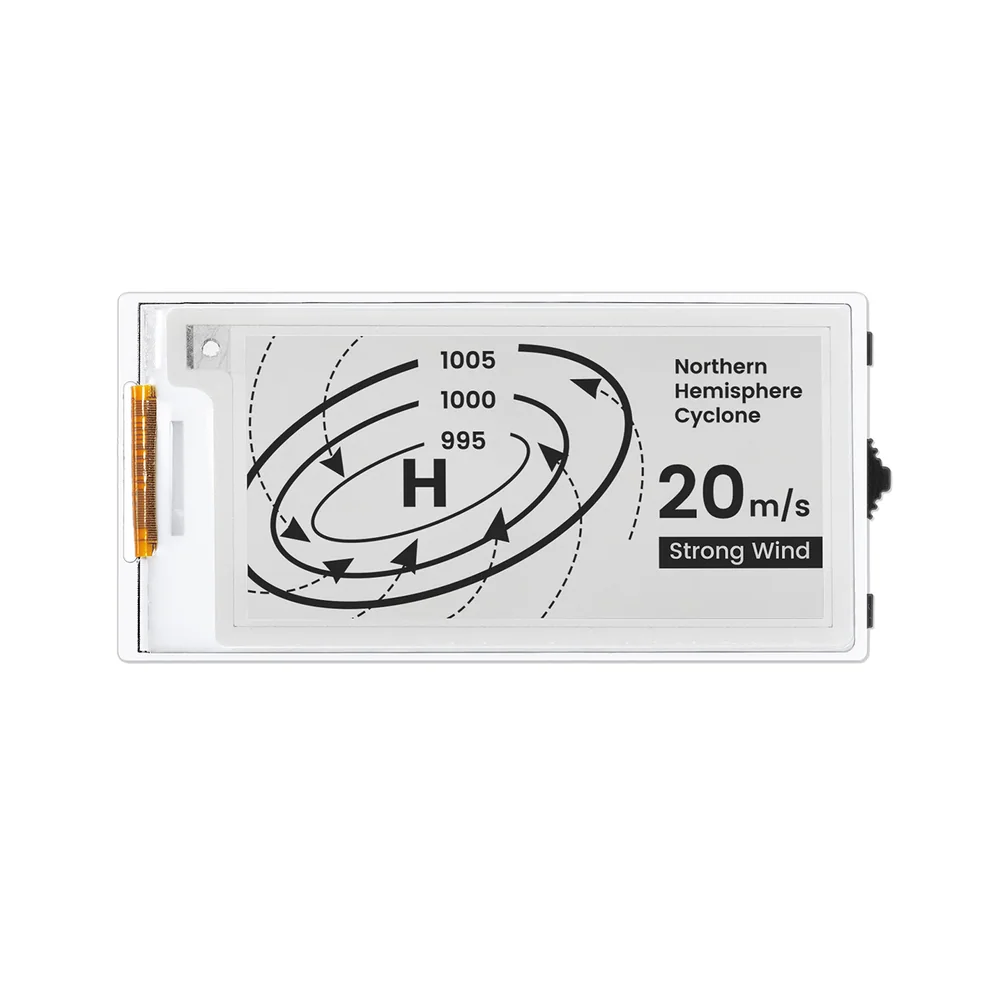
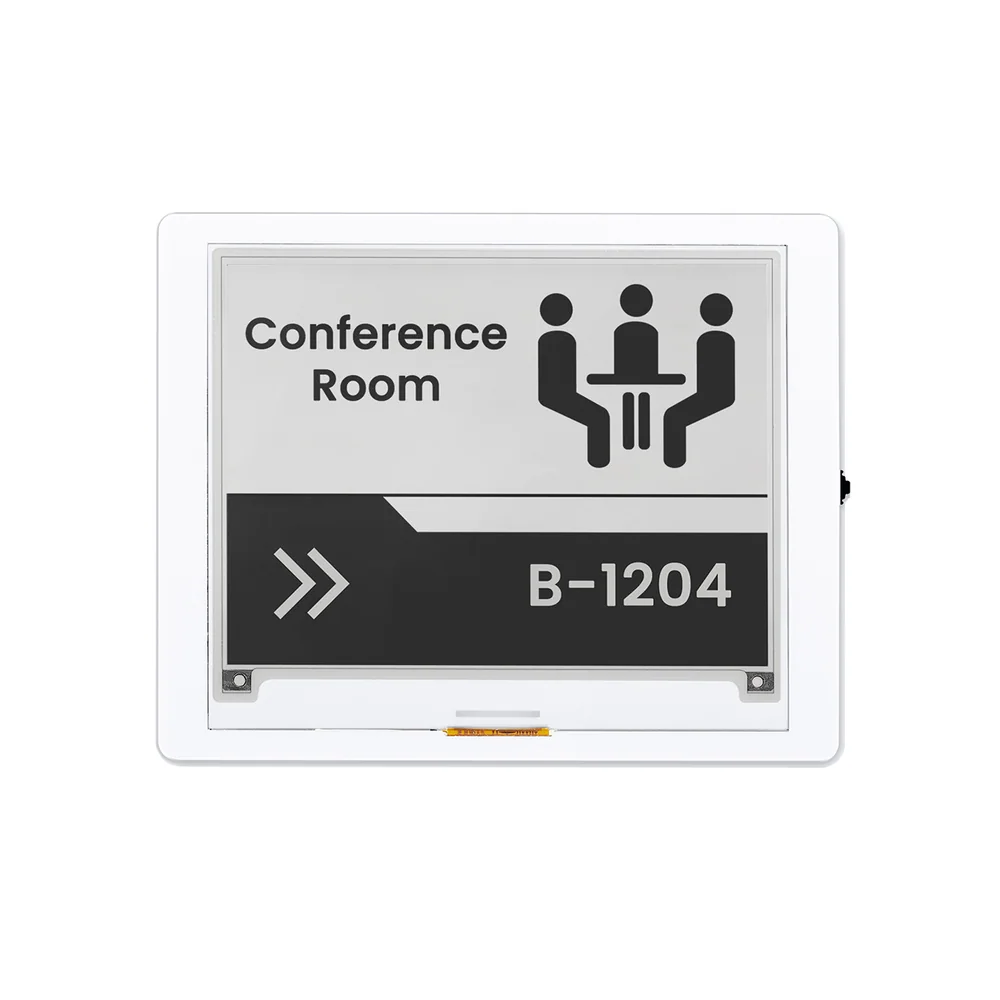
For a few slowly changing readings, consider e-paper. The 2.13-inch and 4.2-inch CrowPanels illustrate two sizes. A persistent image does not guarantee long battery life for the whole assembly: the board, Wi-Fi and power circuit matter too. Partial refresh support depends on the display controller and driver.
- Frequent commands: choose readable touch targets or an easy-to-grip dial.
- Slowly changing information: compare e-paper contrast and refresh behaviour.
- A complete dashboard: a tablet remains an alternative, with its own power and maintenance requirements.
Check the exact hardware before flashing
Record the model, revision, display controller, optional touch controller and pin mapping. Equal screen sizes do not mean equal configurations. For a colour interface, also check available memory and PSRAM against ESPHome's LVGL guidance.
The official rotary CrowPanel course provides an ESPHome starting point. Arduino examples for the e-paper boards do not, by themselves, provide ready-to-install ESPHome support. Verify the exact panel driver before buying or flashing, without copying another model's pins.
Bring the display online in stages
Keep the original configuration available. Start on a bench with a suitable power supply and a USB data cable. Validate the display, then touch or rotary input, using the matching hardware example. Customise just one page next.
Configure your network and ESPHome native API with your own credentials. In Home Assistant, open Settings, Devices & services and add ESPHome if the device has not been discovered already. Check the requested address and encryption key. Never publish Wi-Fi passwords or API keys in a shared configuration.
Display one real state, then add one command
Start with a temperature or a light's state, including units and a clear unavailable state. Then add one command. A hardware example's brightness adjustment may control only the screen backlight, not a lamp in your home.
To trigger Home Assistant actions from ESPHome, check the corresponding permission in the integration options. Grant it only to a trusted device. Update the display from the state Home Assistant actually reports, not just from a button press.
Handle outages and stale readings
E-paper can retain a reading after its controller stops. Show when data was last received and define when it becomes stale. An unavailable temperature must not silently become zero.
Test a Home Assistant shutdown, Wi-Fi loss and power restoration. The panel should recover its states without repeating commands. Keep independent switches and protective devices: this interface is not a replacement for a safety control.
A checklist before permanent mounting
Run the display for several days in its intended location. A screen that looks good on a desk may be unreadable in sunlight or too bright in a bedroom. Plan cable access and firmware recovery before closing the enclosure.
- Keep the exact model, driver and pin mapping with the configuration.
- Check readability, spaced controls and night-time brightness.
- Make readings, units and connection status understandable to everyone at home.
- Test restarts and network loss without unintended actions.
- Use appropriate power, a suitable enclosure and an accessible recovery procedure.
Common questions
Can an ESP32 show the entire Home Assistant dashboard?
Not like a tablet browser when using ESPHome and LVGL. You build a dedicated interface that exchanges values and commands with Home Assistant.
Does every CrowPanel work directly with ESPHome?
No. Check the exact model, revision and drivers. The 1.28-inch rotary model has an official ESPHome course; an Arduino example for another board does not guarantee the same support.
Does e-paper always mean long battery life?
No. The panel can retain an image without refreshing, but the board, Wi-Fi and other circuitry determine actual battery life. Measure the complete assembly.
Does this display need a Zigbee dongle?
Not for an ESPHome Wi-Fi connection. A dongle may serve other Zigbee devices, but it is not required for this link between the screen and Home Assistant.